Understanding the Basics of a Check Valve
As someone who’s tinkered with everything from classic car engines to sophisticated network systems, I can tell you that the heart of any fluid system beats at the mercy of its components. Now, imagine a check valve as a steadfast gatekeeper, ensuring that the lifeblood of our water systems—be it in a homely garden or a sprawling industrial complex—flows in harmonious rhythm.

Definition and Purpose of Check Valves
A check valve, my dear readers, is a guardian of direction. It’s a simple yet crucial gadget that allows the water to flow in a single direction, preventing the dreaded water hammer and its cacophony of plumbing woes. It’s akin to not letting the past trouble your present—a check valve keeps the flow’s history from backtracking.
Types of Check Valves and Their Applications
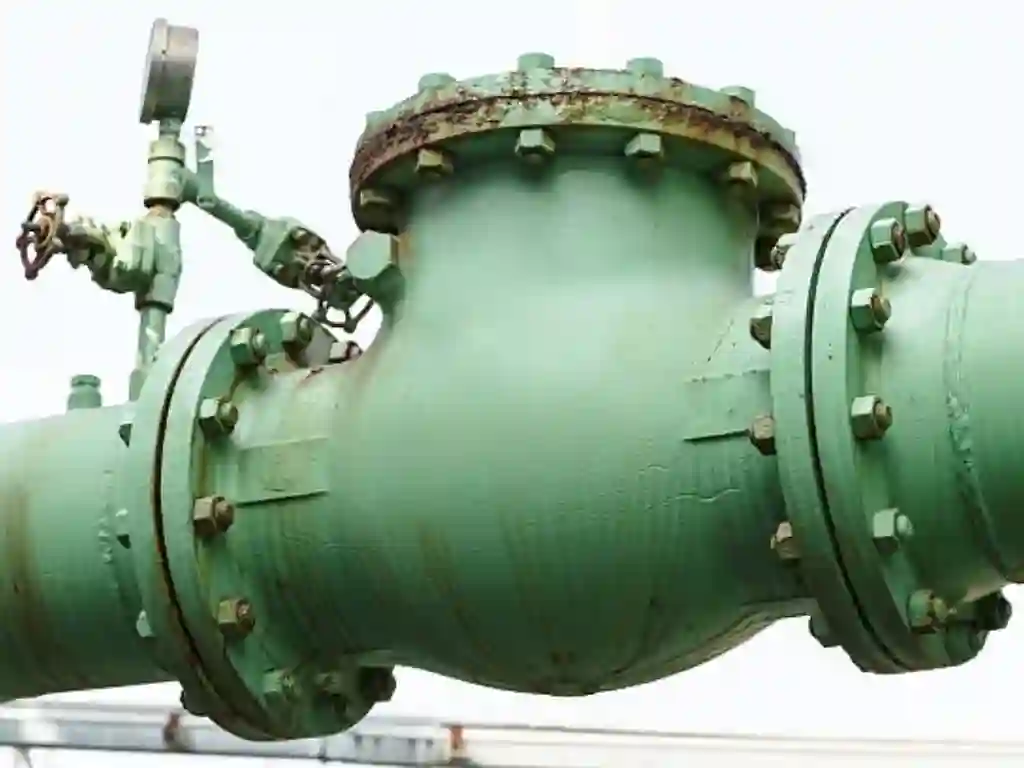
From the robust swing check valves in city mains to the humble axial flow check valves in your basement sump pump, these devices come in a myriad of styles. Each type, be it a ball valve, gate valve, or double door check variety, is suited for specific flow conditions and pipes’ flow directions, guarding against reverse flow and premature wear.
Pre-Installation Considerations
Before diving into the valve installation, one must pause and ponder, much like preparing for a thoughtful chess move. It’s about choosing the right check valve, seeking the perfect spot in the piping system, and using the right tools for the job.

Tools and Materials Needed for Installation
Gather your tools: a wrench, some Teflon, and a steady hand. The materials will vary, from the valve manufacturer’s specified gadgets to the right size of straight pipe needed for ensuring a seamless fit.
Preparing the Pipeline for Valve Installation
Preparing the pipeline is a ballet of precision, ensuring clean cuts, the right valve size, and an understanding of the flow rate. It’s not just about connecting parts; it’s about ensuring that the valve body is in harmony with the flow’s dance.
Step-by-Step Installation Process
Let’s walk through the process of fitting a check valve into your home’s plumbing—the arteries that channel your home’s vital water flow. You’re gearing up for a bit of plumbing wizardry, with the check valve taking the limelight.
Getting the Position Right for Your Check Valve
Finding the right spot for your check valve is a bit like choosing the best place for a new potted plant. It’s gotta be just right. You wouldn’t stick a plant that loves the sun into a dark corner, right? In the same way, don’t plunk your check valve where bends or tees could stir up a wild current. You want a straight, uncluttered path for it, making sure nothing’s in the way. Think of it as clearing the stage before the main dance number.
Check Valve Orientation and Flow Dynamics
Moving on to the rhythm of the flow: your check valve’s centerline needs to line up with the water’s movement. If they’re not in harmony, you’ll know—like a beat dropped in the middle of a jam session. When the water decides to flip and flow backwards, that’s the signal for the valve disc to leap into action and shut things down to avoid a backflow fiasco.Imagine slapping in the wrong valve backwards—it’s like trying to waltz with your feet tied. A total flop! So, always double-check that the type of valve you’ve got matches the way your water flows.Smoothly stepping from the ‘where’ to the ‘how’—once you’ve nailed the position and direction, it’s time to secure the check valve to the pipe for a flawless and firm fit.
Setting Up the Check Valve on the Pipe
Putting in a check valve is like giving a friend a high-five—it should be strong but not too much. Line up the threads and ports carefully, like adjusting an old clock. The seal should be tight to stop leaks but not so tight that it damages the threads or breaks the valve; this needs a gentle touch. Imagine using too much force and hearing a break—that’s a plumber’s nightmare, meaning you have to start again and there might be water damage.
Testing the Check Valve Post-Installation
Once the check valve is firmly set up, it’s time to test it. This step is like the last practice before a big show. You’ll do a leak test to make sure there’s no dripping—a sign that something went wrong during installation. Next, you’ll check that the valve stops water from going in the opposite direction. If something’s blocking it, see if the valve’s arrow is pointing right. If there’s a leak or another problem, and you’re sure it’s not an installation mistake, it’s time to ask a pro who knows all about valve maintenance and control valves for help.Moving from making sure the valve is set up and tested right, we go to regular care of it, ensuring your check valve lasts long and works well.
Maintenance Tips for Check Valves
After you’ve got your check valve in place without spending a fortune, it’s time to focus on keeping it in great shape.

Routine Inspection and Cleaning
Your check valve disc is like the goalkeeper for your piping system—it’s got to be on its toes. You’ll want to give it a regular once-over. Turn off your water and have a look-see inside. Keep an eye out for any drips, gunk build-up, or stuff that just doesn’t belong. A spick-and-span valve means your whole system runs better. For example, think about a busy factory where maybe 5% of the valves need a good cleaning every year to keep things flowing right.
Dealing with Leaks and Backflow
Leaks and backflow are the adversaries of an efficient piping system. Tackle them with the resolve of a seasoned warrior, using every tool at your disposal, from the knowledge of valve problems to the intuition for sensitive equipment.
When to Lubricate or Replace Valve Components
Your check valve’s got a tough job, and it can get worn out. If it’s getting tough to move or showing a bit of rust, a dab of lubricant might be just the ticket. But if the check valve disc or any other bits are looking rough, they’ve got to go. Keeping fresh parts in play means your valve’s always ready to perform and keeps your system secure.From the cost of putting it all together to staying on top of its game, remember: a well-looked-after check valve is central to a dependable and smooth water supply. Keep tabs on your valve, and it’ll do right by your pipes for the long haul.

Figuring Out the Costs of Setting Up a Check Valve
When you’re looking at adding a check valve to your system, you’ve got to think about the cash you’ll lay out. It’s not just grabbing any check valve; it’s about getting the best deal for your money.
Estimating the Cost of Valve and Installation
So, here’s the deal. The cost of putting in a check valve isn’t set in stone. First, you have the check valve’s price tag, which can be easy on your wallet or could cost you a pretty penny, depending on what kind you pick. Next up is the labor—the hours it’ll take to install your new valve. And remember the little things: the checks and tweaks afterward. These expenses add up. To give you an idea, here’s a quick rundown:
| Valve Type | Valve Cost | Installation Labor | Testing Fees | Time Investment |
| Swing Check | 200 or more | 500 | 100 | 2-4 hours |
| Ball Check | 300 or more | 600 | 150 | 3-5 hours |
Weighing the Price Against Quality for the Long Haul
Alright, here’s the lowdown. Spending more now on a top-notch check valve might save you headaches later—fewer fixes, and it’ll last longer. But hey, the wallet-friendly ones aren’t too shabby either; they can get the job done without draining your wallet. The trick is to balance your budget with what you really need. Do the math, see what you can swing, and pick a check valve that fits your specs and your budget.As we close out our talk on valve maintenance and look to wrap things up, keep this in mind: picking the right check valve is about balancing the cost and how well it works. Make a smart choice, and your setup will be all set for the long run.
Conclusion: Ensuring Optimal Performance
In conclusion, installing a check valve is not merely a mechanical task; it’s an act of ensuring the symphony of your piping system plays on without a hitch. The right check valve, installed with care and maintained with diligence, can prevent substantial damage and ensure the longevity of your system.With the right approach and a touch of intuition, your check valve installation will be as successful as the many projects I’ve had the pleasure to complete in my forty years on this earth. May your pipes flow unimpeded, and may your check valves always swing in the right direction.


