Understanding the Causes of a Leaky Shut Off Valve
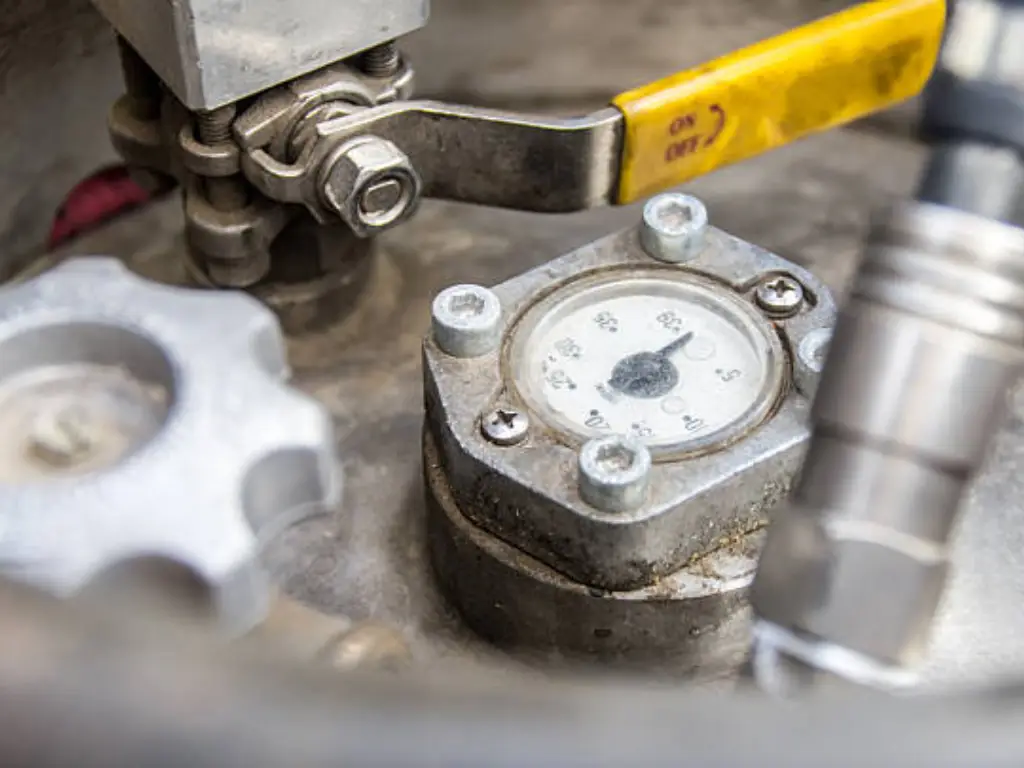
Fixing a leaky shut off valve can be frustrating but knowing why it occurs is the first step in finding a solution. There are many reasons for this common issue with plumbing in households, among them high water pressure and no constant pressure. Water leakage through the valve is often caused by damage to the end of the valve stem or the packing nut which occurs over time due to extensive use of the valve. Accumulation of hard water minerals, also known as mineral deposits, can also lead to malfunctioning of the valve. When it comes to this part, if there is corrosion on it as well that will result into a loss of water hence continuous dripping or an improper valve. Such causes include leaking toilet shut off valves, which when detected helps us to apply appropriate fixes thereby ensuring a watertight seal in your plumbing system.
Tools and Materials Needed to Fix a Leaky Shut Off Valve
Before you embark on the do-it-yourself adventure of fixing that irritating leak, establish whether or not you have all the necessary instruments and supplies. In order to fix a leaking faucet, you need an adjustable wrench, screwdriver and pliers if req uired. For materials make sure you have spares for rubber washer, stem packing and neoprene washers or rings if required. Depending on the type of valve and the extent of damage involved, it may necessitate total change of valve, particularly when there are strong indicators of wearing off as well as corrosion. It is also useful to have a small flashlight in case one needs to light up any areas under sink or behind toilet pan.
Safety Precautions Before You Begin the Repair
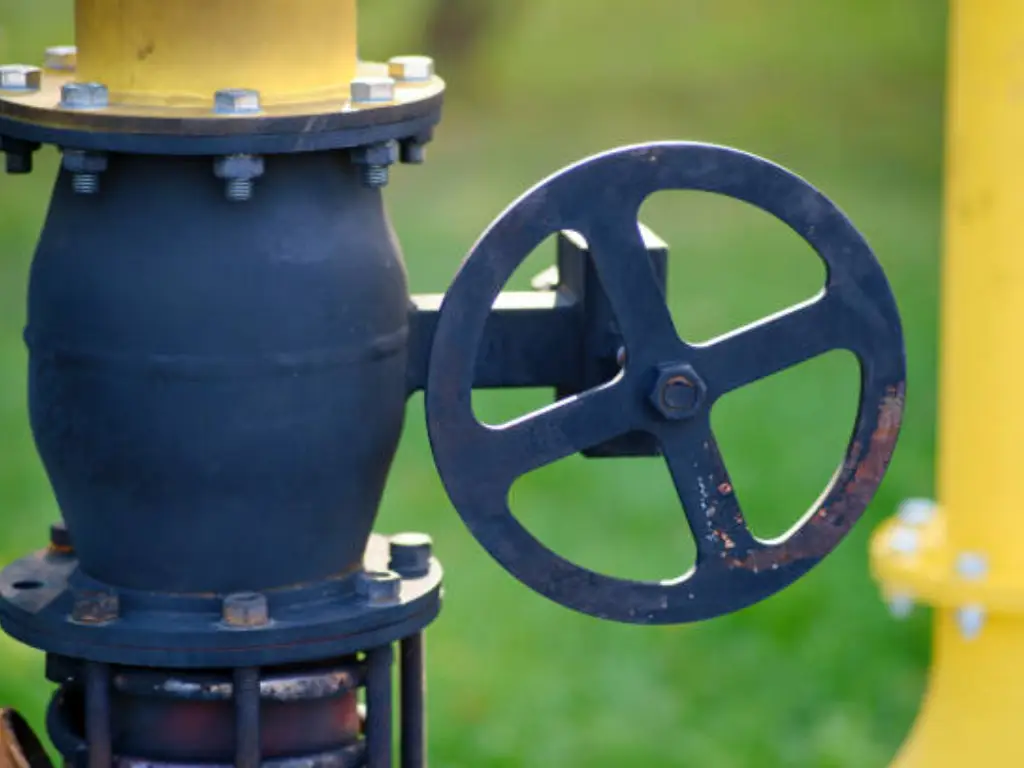
Safety first! As a preliminary step before you start repairing your shut off valve, there are some safety precautions to be taken. Make sure that the main water supply is shut off by finding and turning off the main water valve, also known as the water shutoff valve, so as to avoid any unforeseen spurts of water flow. It’s a good idea to clear the area and lay down towels or a bucket underneath it for catching any residual water that may ooze out once you begin loosening parts. In this regard, also check if your tools are in good shape and put on protective eyewear in order to shield yourself from flying particles while handling parts that could have corroded. Also, if it is a multi-turn valve ensure that you hold handle tight so as to prevent slipping or incidents. First of all, sand pipes lightly use fine grit sand paper before starting repair so as not to have burrs or bumps which might obstruct new shut off valves. It is important to note that when replacing a shut off valve, it is recommended to use a copper pipe for better durability and longevity.
How to Fix a Shut Off Valve: Step by Step
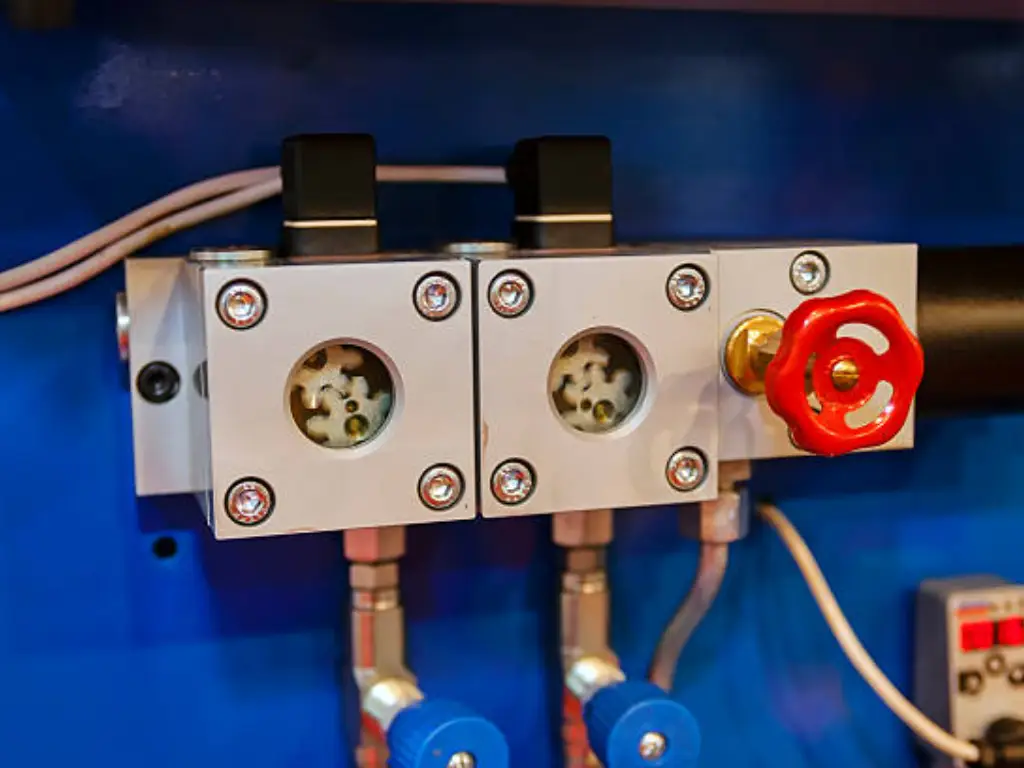
Other than being instrumental in controlling water flow, shutoff valves are vital components of plumbing systems. With time, these valves may wear out or malfunction necessitating repair. To fix a shutoff valve fast, follow these steps:
Identify the Problem
- Examine the valve for any visible signs of decay like: rusting, leakages or loose handle.
- Check if the valve is completely shut but still allowing water to pass through.
Gather Tools and Materials:
- Spanners (adjustable and pipe)
- Screw drivers
- Spare parts (valve seat, washers or entire valves etc.)
- Teflon tape
- Bucket or towel to catch any water
Turn Off the Water Supply
- Identify where your main water supply valve is located, then turn it off so that no more water can flow into your cut off valve. Meanwhile open another tap downstream from this faulty valve so as to decrease any remaining pressure inside pipes before you start tackling it.
Disassemble the Valve:
- Use a wrench to loosen the packing nut just below the handle on the valve. Remove the handle for your stem assembly from the body of the valve.
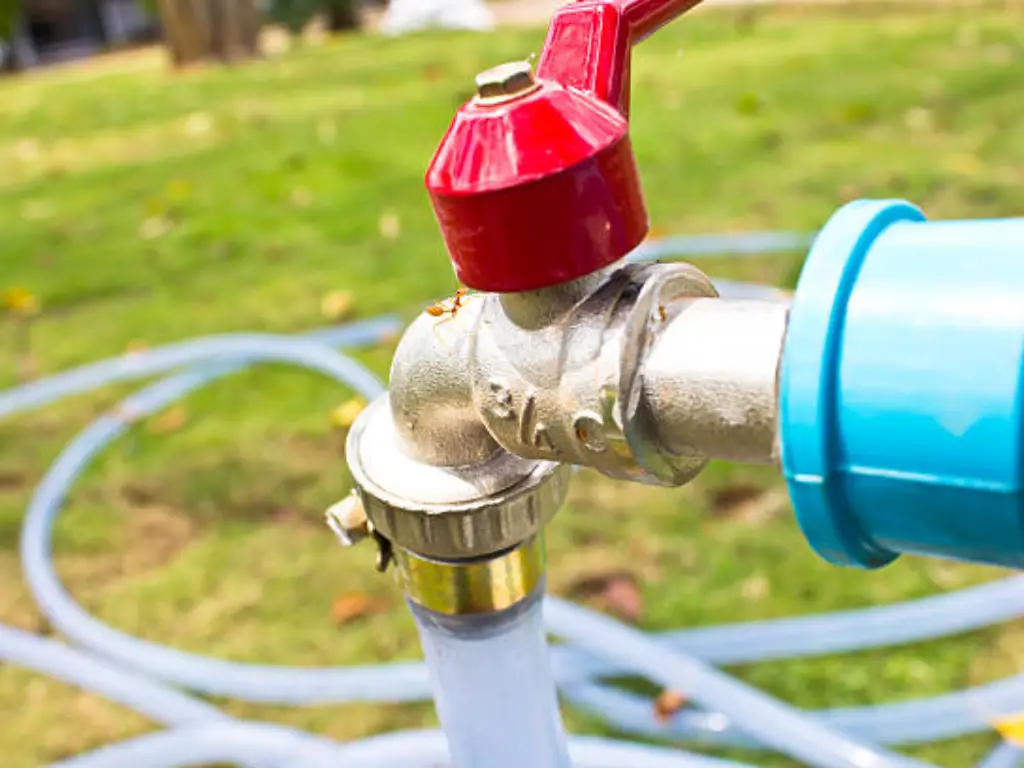
Inspect and Replace Parts:
- Look out for wear and tear in its seating area of such valve. In case it’s worn out replace with another one.
- Also check washer located at end of stem inside that valve; if it appears cracked or looks old replace it.
- Use Teflon tape on threads which are found on that stem so as to ensure there’s good sealing while putting everything back together again.
Reassemble the Valve:
- Put back the stem of this control device into its hole.
- Finally tighten the packing nut using a spanner to make sure that it is firm, but do not overdo it in order not to break anything. Attach the handle back on.
Test the Valve:
- Reopen the main water supply system. Check this valve for any leaks and confirm its capability of stopping full flow of water when it’s closed down.
Replace the Valve if Necessary:
- If these steps can’t offer a solution then you have no alternative other than getting another one like this which is already ready from your nearest shop. Stop water supply, unscrew old one with pipe wrench and install new according to company’s instructions.
By following these steps, you can effectively repair a shut off valve, ensuring it operates correctly and prevents water leaks. Regular maintenance and inspection of shutoff valves can prolong their lifespan and enhance plumbing system efficiency.
Common Mistakes to Avoid When Fixing a Leaky Shut Off Valve
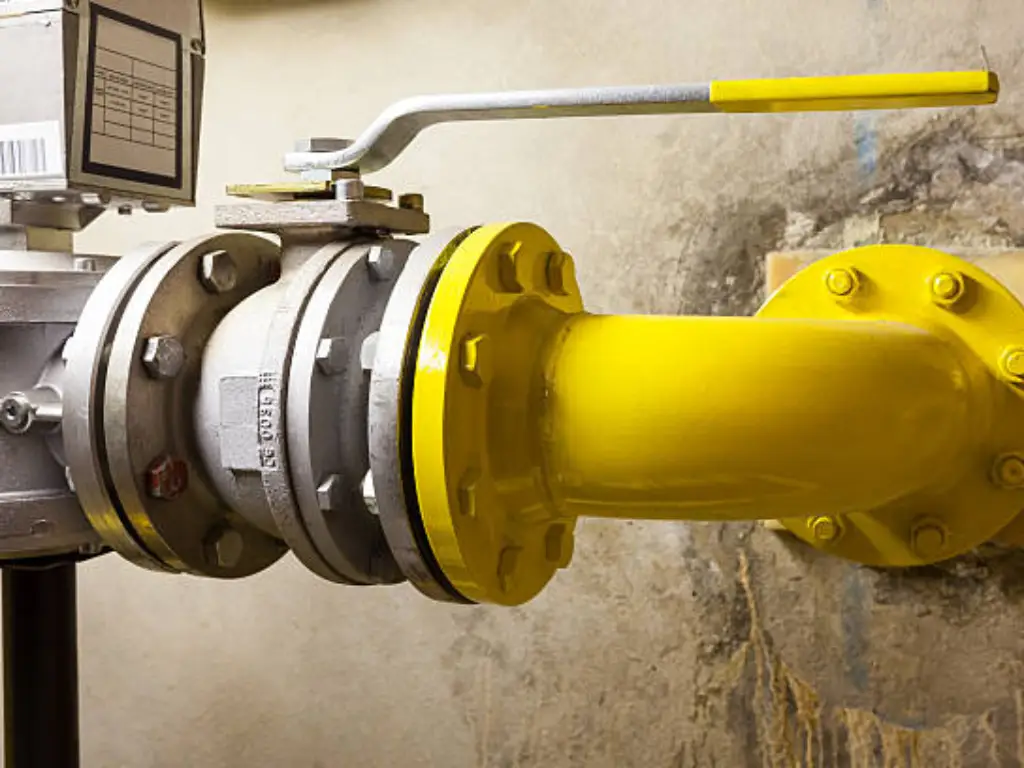
Mistakes can easily be made, especially when doing a DIY repair like this. Over tightening a leaky valve stem or damaging the threads by over tightening the stem nut is one of these common mistakes. Other people tend to fix the problem by just repairing one part, such as tightening the existing components, but this does not work since some problems may recur in the future. Replace all parts that appear worn out and not only those that are obviously damaged. Also, avoid using wrong materials like a brass washer instead of a neoprene washer or a stem nut instead of a packing nut, which may lead to leakage because they cannot fit properly. Keep in mind though that some steady pressure should be put on the packing nut lest you damage it while trying to adjust it.
When to Call a Professional Plumber for a Leaky Shut Off Valve
Whereas there are many shut off valve troubles that can be solved by do-it-yourself projects, sometimes it is worth calling a professional plumber for indications of dilapidation. If you have already tried to fix the valve and it still leaks, or if you notice signs of wear and tear on the valve, this may suggest more complicated problems with the valve body or main water supply line. Moreover, where there is widespread corrosion or installing new valves is necessary, engaging professionals ensures safe and efficient work done on them. Furthermore, plumbers can give an idea of any potential whole-house issues in case leakage might be just a symptom of the bigger problem like air conditioning malfunctioning or wrong connection from a dishwasher. It’s very important to know when you need professional help in fixing leaky shut off valve since sometimes it requires working in the narrow space between floor joists; otherwise more damage will occur and incorrect replacement.
Why You Should Choose Dombor for Professional Valve Services
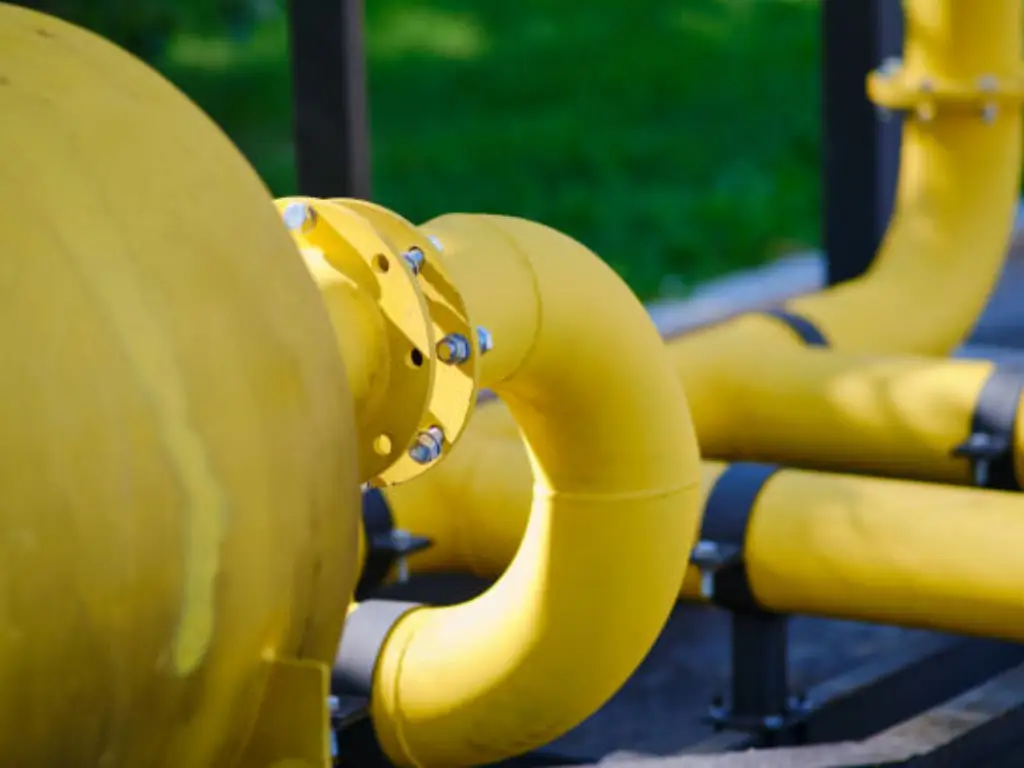
In the valve business, Dombor beats all the odds with an extended warranty to 24 months compared to 12-18 months average of its competitors. They keep a huge stock for emergency ten day deliveries. The company is using X-ray inspection and low-temperature impact testing in order to maintain their quality control systems. Moreover, every single valve undergoes a 100% performance and seal tests in line with the API 598 and API 6D standards. Dombor’s customization alternatives meet versatile operational requirements through provision of higher quality components and multiple ways of linking them together. With more than three thousand projects and operations handled worldwide in over one hundred and forty countries, Dombor is known as a reliable supplier of valves globally.


